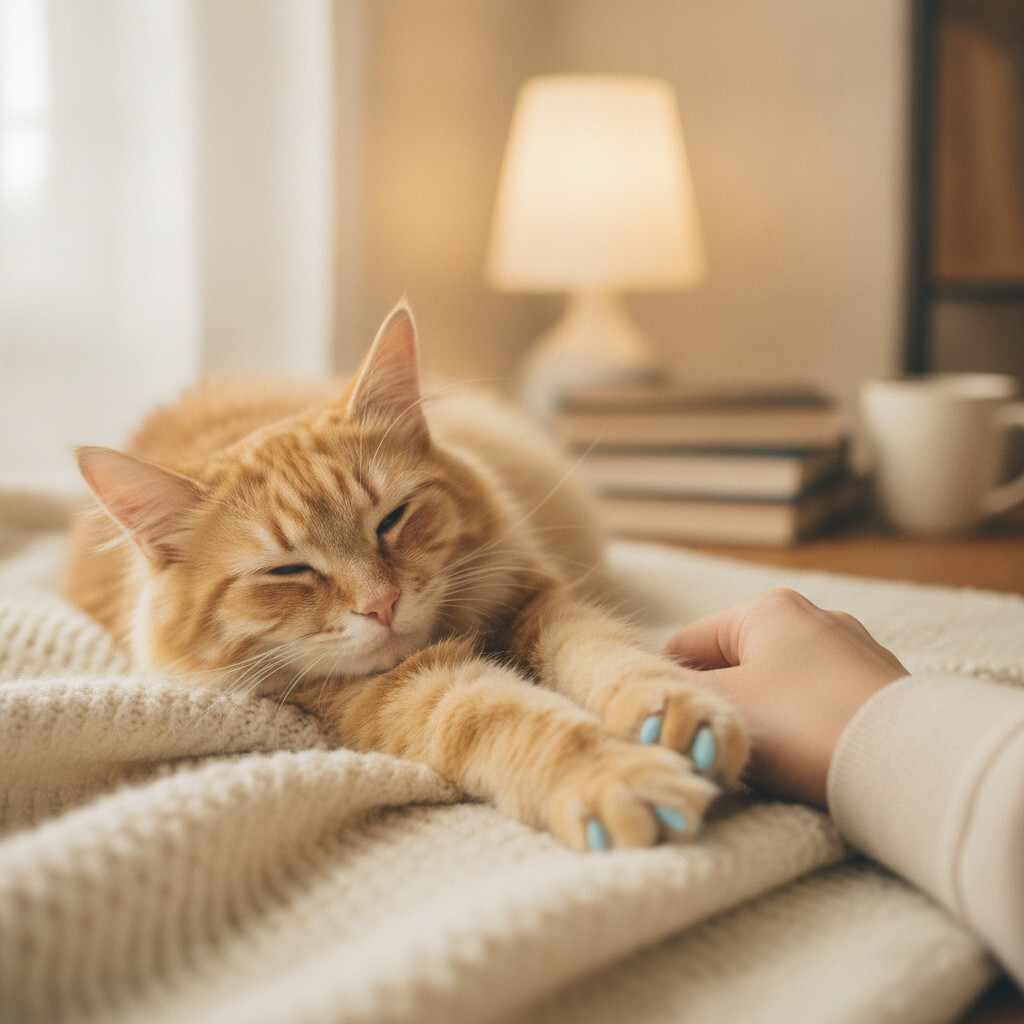
Nail caps are safe for most cats when sized and applied correctly, and they do work — but only as a way to blunt the damage from scratching, not as a way to stop the behavior itself. They’re a legitimate alternative to declawing, not a substitute for giving your cat something appropriate to scratch.
If you’re picturing tiny plastic covers glued onto claws, you’ve got the right idea. The question is whether they’re actually a good fit for your cat and your household, and what can go wrong if you skip the details.
How Nail Caps Actually Work
Nail caps (sold under brand names like Soft Paws or Purrdy Paws) are small, blunt-tipped vinyl sheaths that fit over a cat’s claws and are held on with a nontoxic adhesive, similar in concept to a press-on nail. They don’t stop a cat from scratching — the instinct to scratch is hardwired and serves real purposes, including claw maintenance, scent marking, and stretching. What caps do is remove the sharp point that causes damage, so the same scratching motion doesn’t shred furniture or break skin.
They typically last four to six weeks before falling off as the claw grows and sheds its outer layer, which is a cat’s natural process regardless of whether caps are involved. At that point they need to be reapplied.
Do They Actually Stop the Damage?
For furniture and skin, yes — a blunted claw simply can’t do the same damage as a sharp one. This is why the American Veterinary Medical Association lists nail caps among the acceptable alternatives to declawing for owners managing scratching-related concerns, alongside regular trimming and appropriate scratching posts.
What they don’t do is address the underlying behavior. A cat wearing nail caps and using the arm of your couch is still going to use the arm of your couch — you’ll just see less visible damage. If furniture scratching is the actual problem you’re solving, caps work best paired with redirection: an appealing scratching post placed where the cat already tends to scratch, not tucked in a corner they ignore. (More on that in Why Cats Scratch Furniture — And How to Redirect It and Best Cat Scratching Posts: What Actually Works.)
Caps are also commonly used for a narrower, very practical reason: protecting skin. Households with young kids, elderly residents, or a cat who play-bites and scratches during rough play sometimes use caps short-term to reduce injury risk while training progresses. If furniture scratching is what brought you here in the first place, it’s worth reading why cats scratch furniture and how to redirect it before assuming caps alone will solve it.
Applying Them Safely
The main safety risks with nail caps come from poor fit or poor application, not the product itself.
- Size matters. Most kits come with a sizing chart — caps that are too small will pinch, and caps that are too big won’t stay attached or may catch on things. Measure the claw, not the paw.
- Trim first. Claws should be trimmed to a normal length before a cap goes on. Capping an overgrown claw traps the overgrowth underneath.
- Use the right amount of adhesive. A small dot inside the cap is enough. Overfilling can cause adhesive to seep onto the skin around the nail bed, which can irritate it.
- Let it set. Hold gentle pressure on a newly capped claw for a few seconds so the adhesive bonds before your cat starts moving around.
- Introduce gradually. Cap one paw at a time on the first go if your cat tolerates handling poorly, and pair the process with treats. Fighting a cat through a full sixteen-claw application in one sitting is a good way to make them dread it every time.
Front paws only is a common and reasonable approach for owners mainly concerned about furniture damage, since front claws do most of the scratching. Cats that go outdoors or climb should generally not be capped on all four paws, since blunted claws reduce climbing and self-defense ability — worth thinking through if your cat has any outdoor access. A good scratching post at home does more to protect furniture long-term than caps alone; see Best Cat Scratching Posts: What Actually Works for what to look for.
Common Mistakes and When to See a Vet
The most frequent problem isn’t the caps themselves — it’s leaving them on too long. If caps aren’t replaced as claws grow, the claw can grow into or around the cap, causing pain and, in some cases, infection at the nail bed. Check caps weekly for looseness, cracking, or a claw that looks like it’s growing unevenly underneath.
Watch for:
- Redness, swelling, or discharge around the base of the nail
- A cat persistently chewing or pulling at a capped paw (occasional investigation right after application is normal; ongoing distress isn’t)
- Limping or reluctance to walk on a capped paw
- A cap that hasn’t fallen off or been replaced in more than six weeks
Any of these warrant a vet visit. A nail bed infection is uncomfortable but very treatable when caught early, and a vet can also confirm you’re sizing and trimming correctly if caps keep causing irritation despite following instructions.
Caps also aren’t the right call for every cat. Cats with claw or paw injuries, severe arthritis affecting grip, or significant stress around paw handling may do better with an alternative like more frequent trimming or additional scratching surfaces. If your cat associates paw handling with real distress, that’s worth working through — see How to Groom a Cat That Hates Being Groomed for handling techniques that make paw-adjacent care easier generally.
The Bottom Line
Nail caps are a safe, reversible option for reducing scratch damage when applied correctly and maintained on schedule — not a training tool, and not something to set and forget. Trim first, size carefully, replace every four to six weeks, and check in on your cat’s paws between applications. If you’re using them to solve a furniture problem, put real effort into the scratching post situation too — caps treat the symptom, not the instinct behind it.