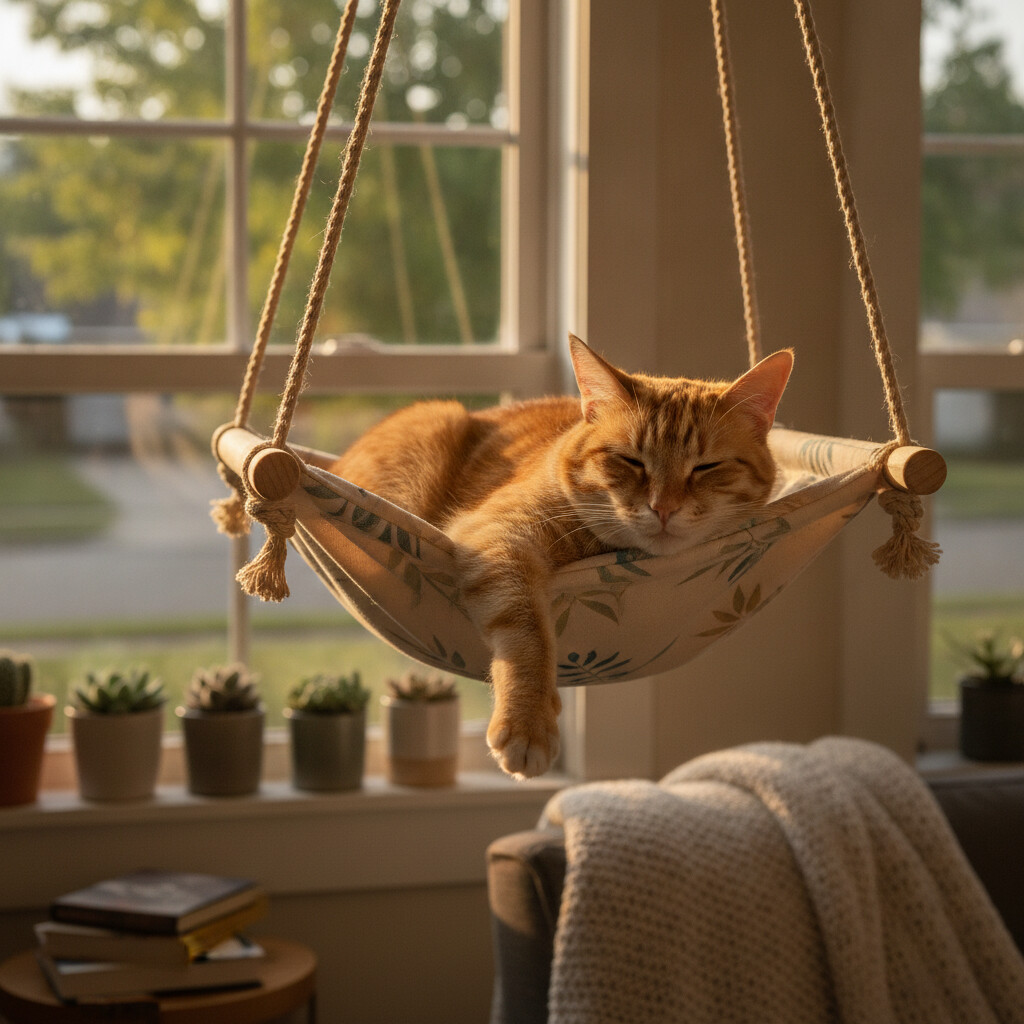
A cat hammock gives your cat a hanging, swaying resting spot that most cats find irresistible — and building one yourself takes about an hour, costs under $20 in materials, and doesn’t require any special tools. Here’s how to do it safely, plus how to tell if your cat is even a hammock cat before you commit.
Why Cats Like Hammocks in the First Place
Cats are drawn to elevated, enclosed-feeling spots because height gives them a vantage point to survey their territory while feeling safe from anything approaching at ground level — the same instinct that drives cats toward cat trees and vertical space in general. A hammock adds two things a flat perch doesn’t: gentle motion, which many cats find soothing rather than unsettling, and a slight cradle shape that cups the body the way a curled-up sleeping position naturally wants to.
Not every cat takes to one immediately. Nervous or very young cats sometimes distrust the movement at first. If yours hesitates, leave it stationary and stable for the first week or two — don’t push a wobbly hammock on a cat who’s already unsure — and let them investigate on their own schedule.
Under-Windowsill Hammock: The Easiest Build
This version mounts directly under a windowsill using suction cups, giving your cat a sunny hanging perch with zero drilling.
What you need:
- A sturdy piece of canvas or heavy denim fabric, roughly 18" x 18"
- Four large suction cups rated for at least 5 lbs each (sold specifically for pet hammocks or window hangers — check the weight rating, not just the size)
- Grommets or reinforced fabric loops at each corner
- A staple gun or heavy-duty needle and thread
Steps:
- Hem all four edges of the fabric so they won’t fray, then reinforce each corner with a grommet kit or a doubled-over fabric loop stitched tightly.
- Attach a suction cup to each corner loop. Make sure the suction cups are rated for your cat’s actual weight, not an average — a chunky 14-pound cat needs sturdier hardware than a slim 8-pounder.
- Press the suction cups firmly onto a clean, dry window at the height and angle you want. Wipe the glass first — dust and oil are the main reasons suction cups fail.
- Test it yourself before your cat does. Press down firmly on all four corners with your own hand weight before letting your cat near it.
- Recheck the suction cups weekly for the first month. Glass temperature changes and humidity can loosen them gradually, and this is the single biggest safety issue with window hammocks.
Wall-Mounted Hammock: More Stable, More Permanent
If you already have (or are building) wall-mounted cat shelves, a hammock strung between two of them or between shelf and wall bracket is far more stable than suction cups and can support heavier cats with less ongoing maintenance.
What you need:
- Fabric as above, or a piece of scrap carpet for extra grip
- Four eye-hook screws
- Wall anchors rated for the combined weight of the fabric and your cat, plus margin
- Chain or heavy-duty rope for the corners
Steps:
- Mark and install wall anchors at the four corner points — two higher, two lower, or all four level, depending on the sag angle you want. Anchors should go into a stud where possible; drywall alone isn’t reliable for a load-bearing pet hammock.
- Screw in eye hooks once anchors are set.
- Attach fabric corners to the eye hooks with short lengths of chain or rope, adjusted so the hammock sits with a gentle, shallow curve rather than pooling into a deep sling — too deep and a nervous cat may feel trapped rather than cradled.
- Load-test with a heavy bag of books or litter (matching or exceeding your cat’s weight) before your cat uses it, and leave it under that test weight for a few minutes to make sure nothing shifts.
Safety Rules That Matter More Than the Build Itself
- Never mount a hammock higher than you’re comfortable with your cat falling from. Even confident, mobile cats occasionally misjudge a landing, especially older cats — see our guide on how high cats can safely fall for context on what height actually means for injury risk.
- Recheck all hardware monthly, not just after installation. Suction cups, wall anchors, and stitching all degrade with use and temperature swings.
- Skip loose ribbon, yarn, or anything with long dangling threads as tie material — cats chew on hanging elements, and ingested string is a genuine emergency risk.
- Don’t rely on adhesive strips alone for anything a cat will jump onto with force. Adhesive mounts are fine for lightweight decor; they are not reliable load-bearing hardware for a live animal.
The Practical Takeaway
Start with the windowsill version if you’re testing whether your cat is a hammock cat at all — it’s cheap, fast, and easy to remove if it’s not a hit. If your cat takes to it, a wall-mounted version gives you a sturdier, more permanent setup that can handle a bigger cat and doesn’t depend on suction holding over months. Either way, the maintenance check is the part people skip and shouldn’t: a hammock that was safe on installation day isn’t automatically safe six months later.