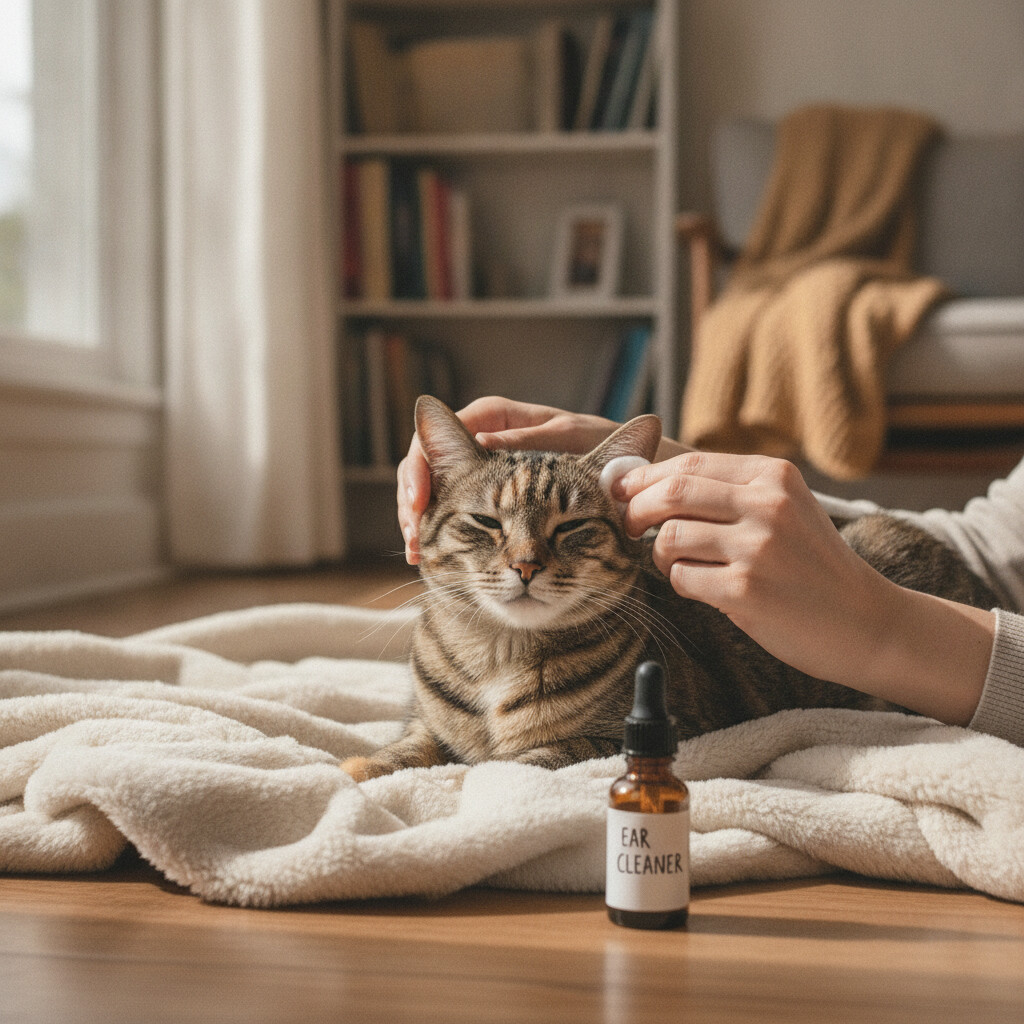
Most cats never need a dedicated ear-cleaning product in their life — healthy cat ears are largely self-cleaning. But some cats produce more wax than others, some breeds (Scottish Folds, Sphynx, and other cats with unusual ear structure) need regular help, and any cat recovering from mites or an infection will need cleaning as part of treatment. The short answer: check first, clean only when there’s visible buildup or your vet has told you to, and use a vet-formulated cat ear cleaner — never cotton swabs, never human ear-cleaning products, never water alone.
How to Tell If Your Cat’s Ears Actually Need Cleaning
Look before you clean. Gently lift the ear flap and check the visible part of the ear canal (never insert anything).
Normal: Pale pink skin, minimal light tan wax, no smell, no obvious debris.
Needs cleaning: A small amount of brownish wax, no odor, no redness — this is routine maintenance, not a medical issue.
Needs a vet, not a cleaner: Dark coffee-ground-like debris, a strong odor, redness or swelling, scratching or head-shaking, or visible discharge. These are signs of ear mites, a yeast or bacterial infection, or in rare cases a foreign body lodged in the canal. Cleaning over an active infection can make things worse and delay a proper diagnosis — our guide on ear mites in cats covers how to tell mites apart from ordinary wax buildup.
If you’re not sure which category your cat falls into, that uncertainty is itself the answer: get it checked before you start cleaning.
What to Actually Use
Vet-formulated cat ear cleaners are the only product you should be putting in a cat’s ear canal. They’re pH-balanced for the ear and typically contain a mild cerumenolytic (wax-softening) ingredient that lets debris come out on its own rather than needing to be dug for. Ask your vet for a specific recommendation — the right formula can differ depending on whether your cat has a history of mites, yeast, or just normal wax buildup.
What to avoid entirely:
- Cotton swabs (Q-tips). They push debris deeper into the canal rather than removing it, and cats move — the risk of injuring the eardrum or canal wall is real.
- Human ear drops or hydrogen peroxide. Human formulations aren’t dosed or pH-balanced for a cat’s ear, and hydrogen peroxide can be irritating to already-inflamed tissue.
- Plain water or saline as a routine cleaner. It doesn’t dissolve wax the way a proper cerumenolytic does, and can leave moisture trapped in the canal — a setup for yeast growth, especially in cats with folded or hairy ears.
- Essential oil–based “natural” cleaners. Several common essential oils (tea tree included) are toxic to cats even in small amounts. Skip anything not explicitly formulated and labeled for feline use.
How to Clean a Cat’s Ears Safely
- Have the cleaner at room temperature. Cold liquid in the ear is uncomfortable and makes cats fight the process.
- Fill the canal, don’t dig. Apply the cleaner per the label instructions — most solutions are designed to be squeezed into the ear canal, not applied on a cotton pad and pushed in.
- Massage the base of the ear for about 20–30 seconds. You should hear a soft squelching sound — that’s the solution breaking up debris.
- Let your cat shake. This is the point of the process — the shake flings loosened debris and excess liquid up and out of the canal.
- Wipe only the visible outer ear with a cotton ball or soft cloth. Never insert anything into the canal itself.
- Reward calmly. A treat afterward helps ears stay a non-traumatic event rather than something your cat starts dreading.
If your cat is especially resistant, doing this with a second person is genuinely easier than fighting it alone — one person holds and reassures, the other handles the bottle. Wrapping a squirmy cat snugly in a towel (a “purrito”) with just the head exposed also helps a lot of cats settle.
How Often Is Actually Necessary
For most cats: never, or only occasionally when you notice buildup during normal grooming or petting. For cats prone to wax buildup, once every one to two weeks is a common vet recommendation, but this varies by cat — ask your vet to set a schedule based on what they see at checkups rather than guessing. Over-cleaning healthy ears can actually cause irritation and disrupt the ear’s natural, self-regulating environment, so more isn’t automatically better.
If you’re setting up a broader grooming routine and wondering where ear checks fit into it, our guide on how often you should groom your cat covers the full routine, and our roundup of grooming tools that are actually worth owning has more on brushes and combs if that’s the next thing on your list.
When to See a Vet
Skip the at-home cleaning and book a vet visit if you see: dark, coffee-ground-textured debris (a classic ear mite sign), a strong or foul odor, redness, swelling, or heat in the ear, persistent head-shaking or scratching at one ear specifically, a head tilt, or any discharge that looks yellow, green, or bloody. These point to infection or infestation that needs diagnosis — usually a quick in-office ear swab under a microscope — and targeted treatment, not just cleaning.
The Bottom Line
Healthy cat ears mostly take care of themselves. When cleaning is actually needed, the process is simple: check first, use a proper vet-formulated cleaner, fill and massage rather than dig, and let your cat do the rest of the work by shaking it out. The moment you see anything that looks like infection rather than routine wax, that’s your cue to call the vet instead of reaching for the cleaner.